Open edX - Installing and Configuring Devstack
30 Jan 2019After a few starts and stops, it appears that I will be starting to work with the Open edX platform for my next project. Part of learning a new platform is documenting EVERYTHING. I want to make sure that I always have a copy of my notes, so I've decided to make a number of blog posts relating to the installation of the Open edX devstack as well as the process of customizing the default theme.
Starting with a new installation of Ubuntu 16.04 (I really need to take some time to upgrade my laptop to 18.04), these are the steps I followed to install the devstack version of Open edX.
- Install prerequisites
- From a command prompt, run the following code to clone the master branch of the latest repository:
git clone https://github.com/edx/devstack - This will create a devstack subdirectory in the current directory. Navigate to the devstack directory and checkout the master branch:
git checkout open-release/hawthorn.master - Next, run the following code:
make dev.checkout - Run the following command to clone the work service repositories needed for Open edX:
make dev.clone - Run the provision command to configure each of the services and configure the databases. This step takes a bit of time to complete.
make dev.provision
These steps required approximately 25 minutes to complete on my system. Once they were finished, running the following command from the devstack directory will launch the various Docker containers and bring up Open edX on your local computer.
make dev.up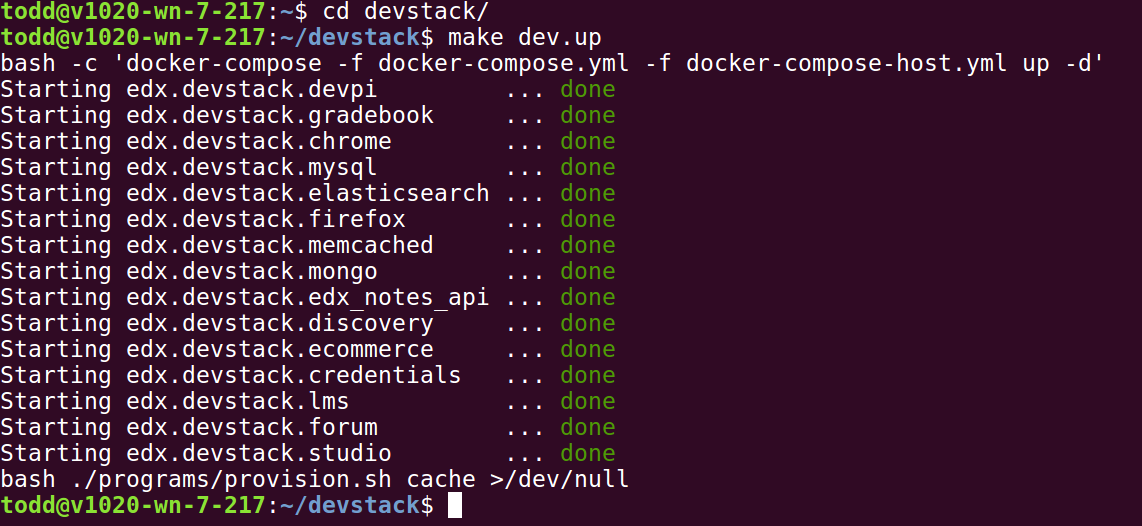
More detailed instructions can be found at the Open edX documentation site here.