Creating Disk Images With Ubuntu
27 Jun 2020I’ve been delaying upgrading my work laptop from Ubuntu 18.04 to the latest 20.04 (Focal Fossa). With the spring term finished at the beginning of this month and the fall term still a few weeks away, I figured now would be a “safe” time to finally perform the upgrade.
I’ve been in this industry long enough to know that backups are a must. Too many disasters could have been avoided by simply having a proper backup. When I was running Windows as my primary OS, I was a die hard Acronis True Image fan. It was easy to boot the workstation with the Acronis Rescue CD and quickly image the drive.
Having migrated over to Ubuntu in the last couple of years, I was curious what options were available for imaging drives. As you might expect there were quite a few options.
I opted to use the Disks utility that ships with Ubuntu paired with an Ubuntu Live CD. I’ve never trusted applications that claim to clone a “live” hard drive. I feel it is safer to boot into a different OS and then clone/image a hard drive.
The steps below outline how I captured an image of my laptop onto an external USB hard drive.
- Plugged in the 3TB external USB hard drive where I wanted the hard drive image to be saved.
- Plugged in the Ubuntu Live USB key.
- Turned on the laptop and booted into Ubuntu on the USB.
- When prompted, I clicked on the Try Ubuntu button.
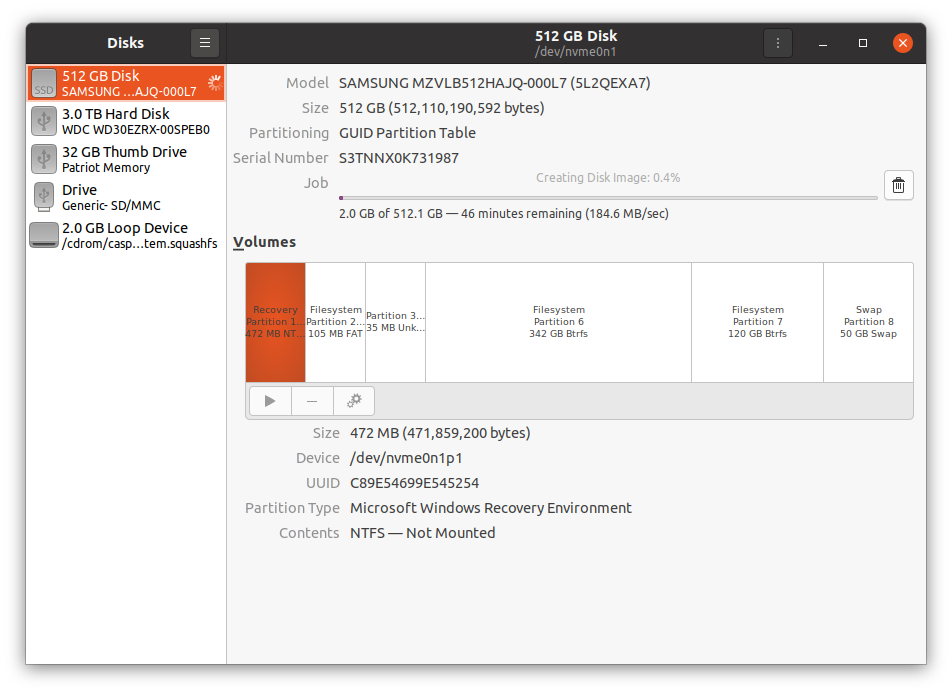
- After the laptop was finished booting, I started the Disks utility from Applications.
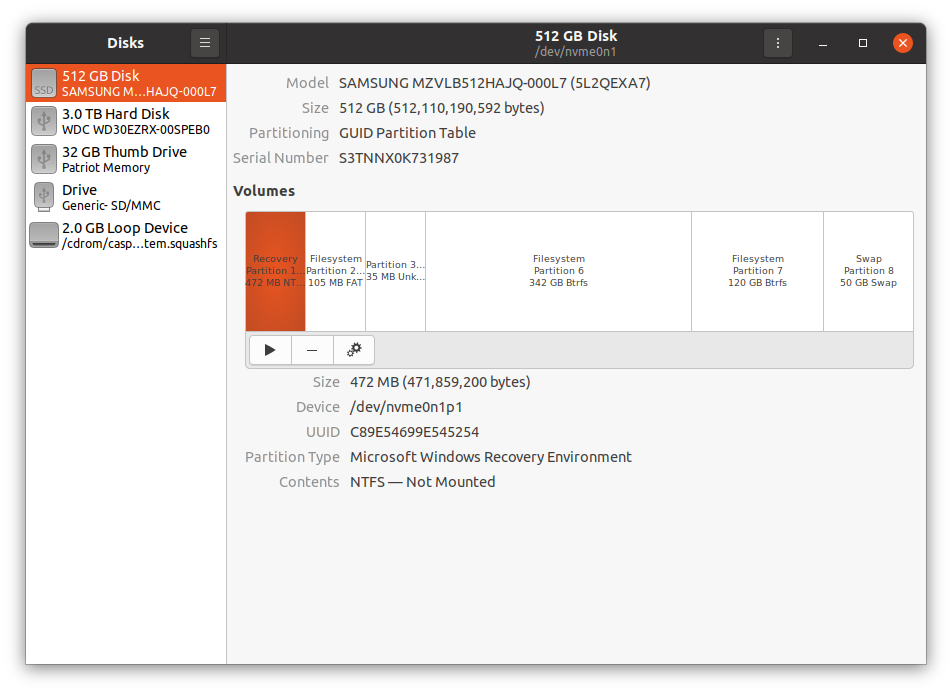
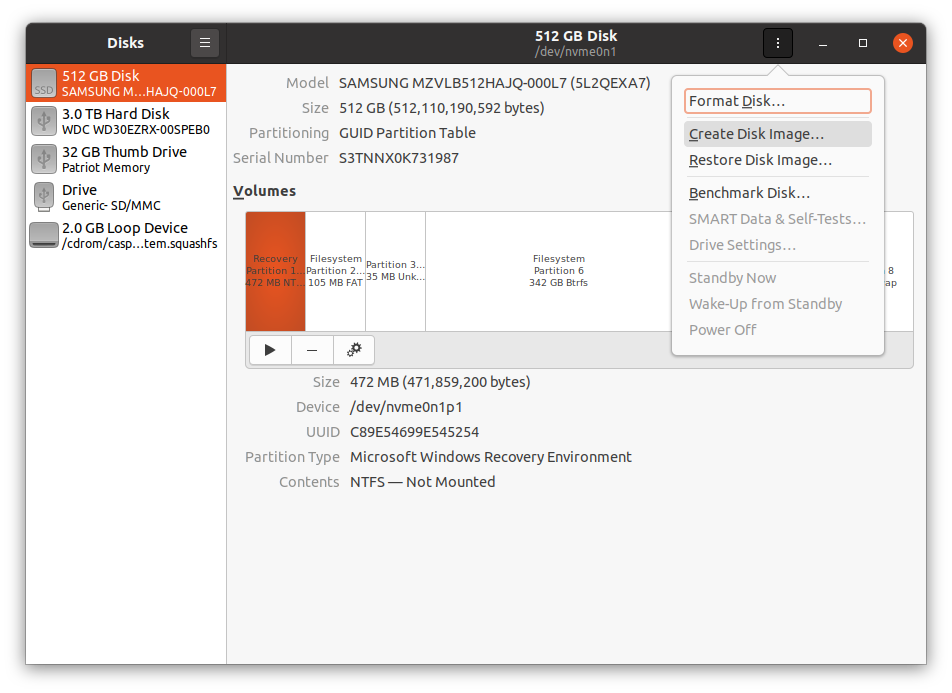
- I selected the main hard drive from the list shown in the Disks applications and then clicked the three vertical dots located in the header.
- From the drop down menu, I clicked on the “Create Disk Image…” item.
- In the pop-up window, I changed the “Save in folder” to the 3TB external hard drive and clicked the “Start Creating…”.
 It took about 90 minutes to complete the full image. Knowing that I have a backup image of my laptop makes the prospect of upgrading my OS much less stressful.